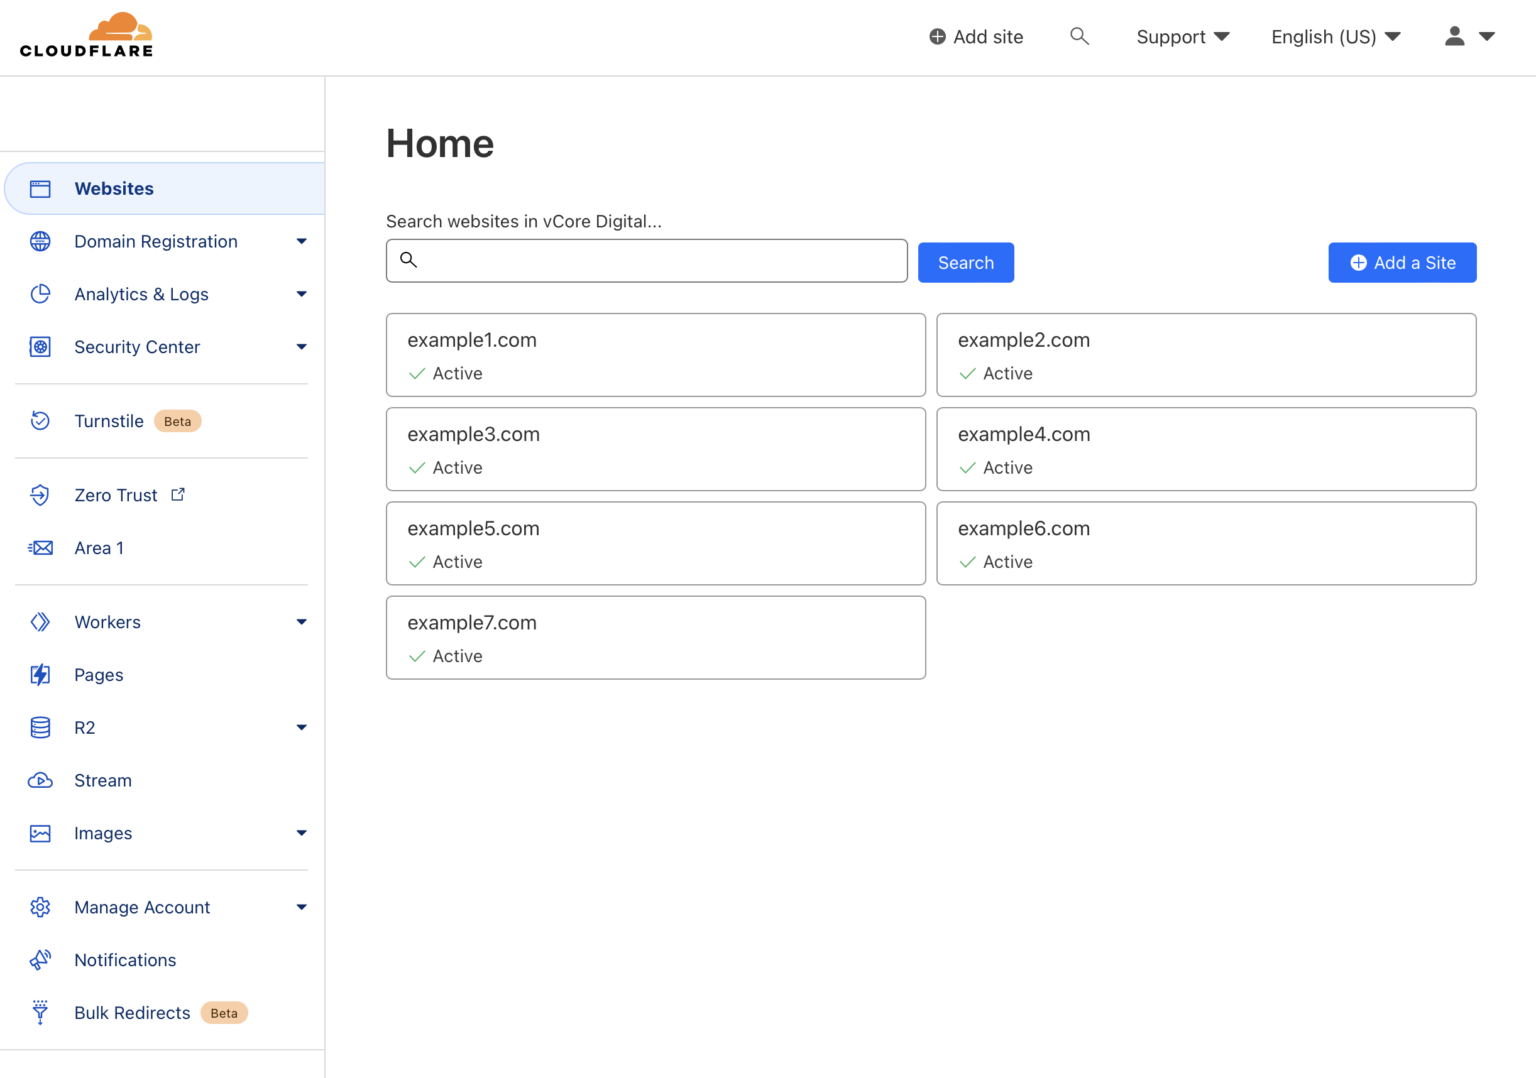
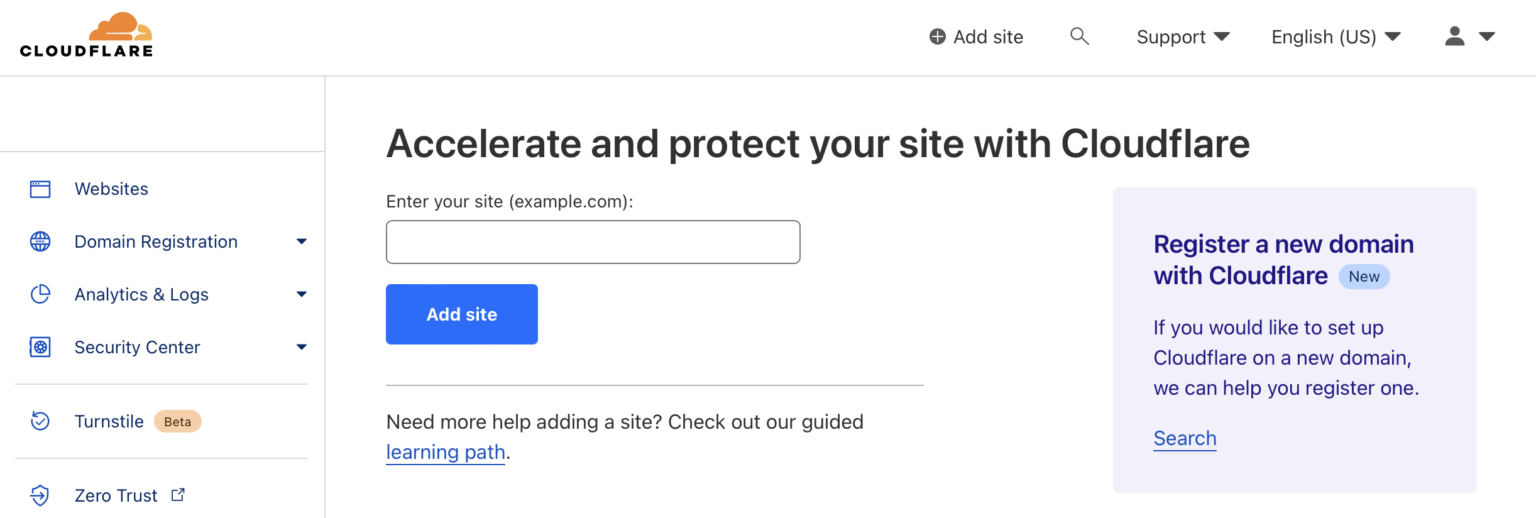
Click "Add a Site" and "Add a subdomain" to complete CDN setup.
Click Continue.
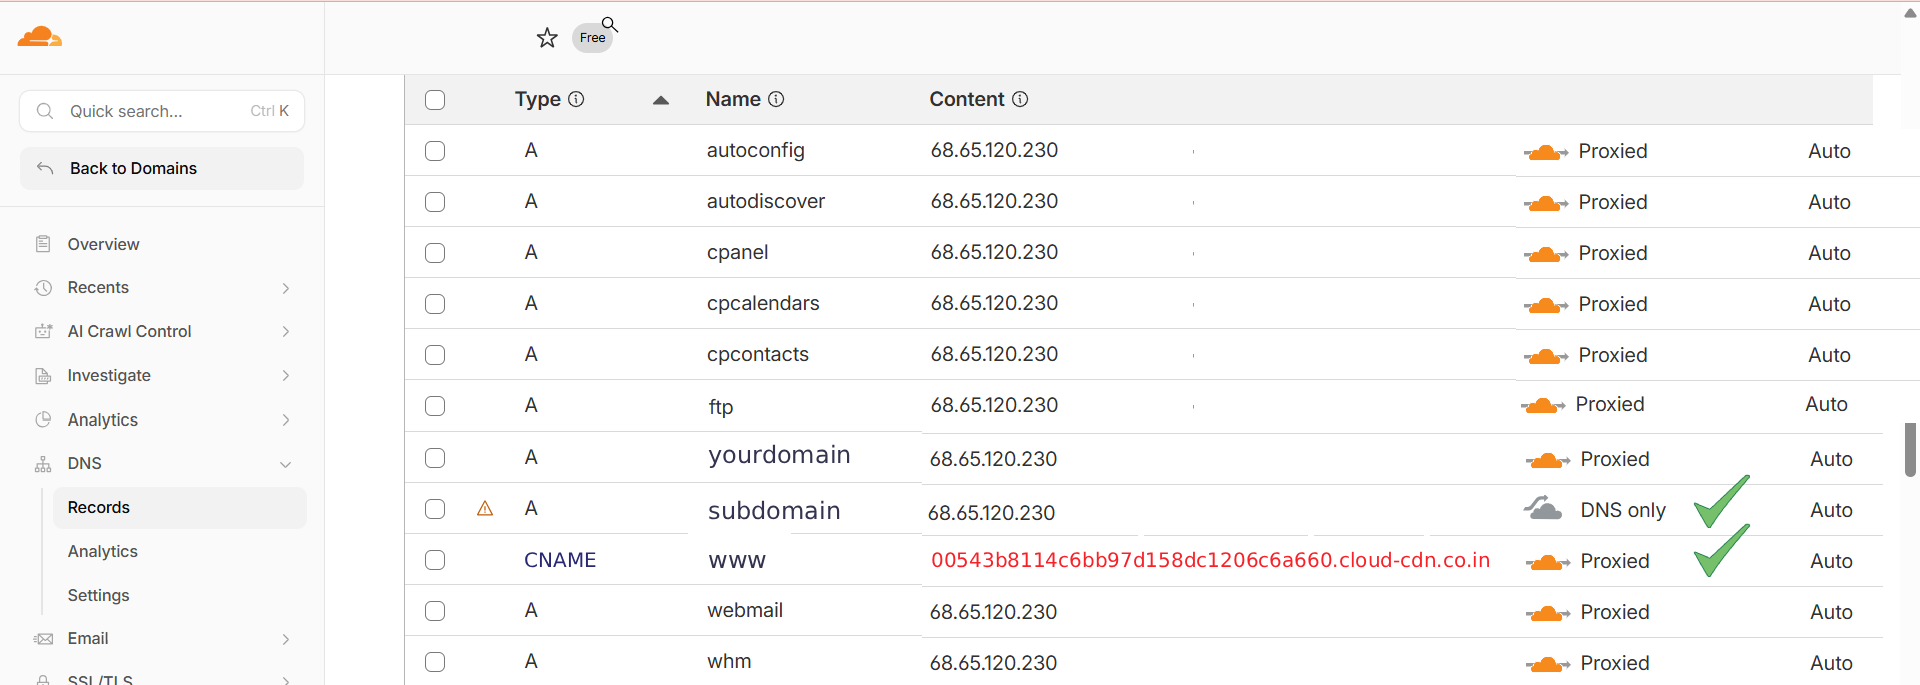
Cloud-CDN will provide you with a new DNS record.
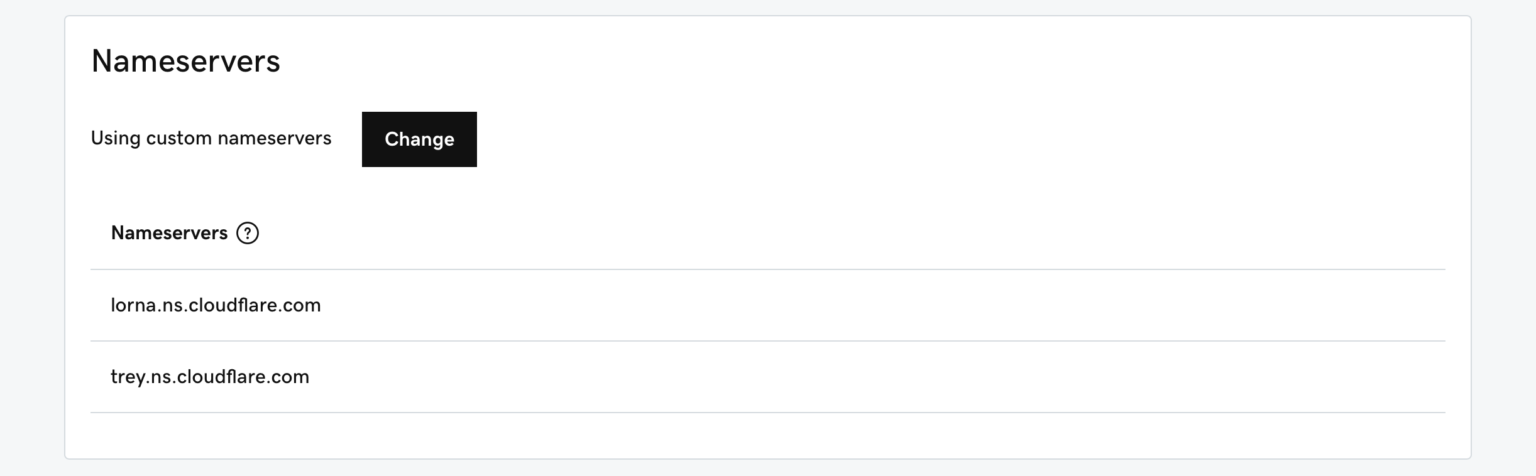
Log in to your Cloudflare account and update your DNS settings by replacing the existing IP address with the following value:
00543b8114c6bb97d158dc1206c6a660.cloud-cdn.co.in
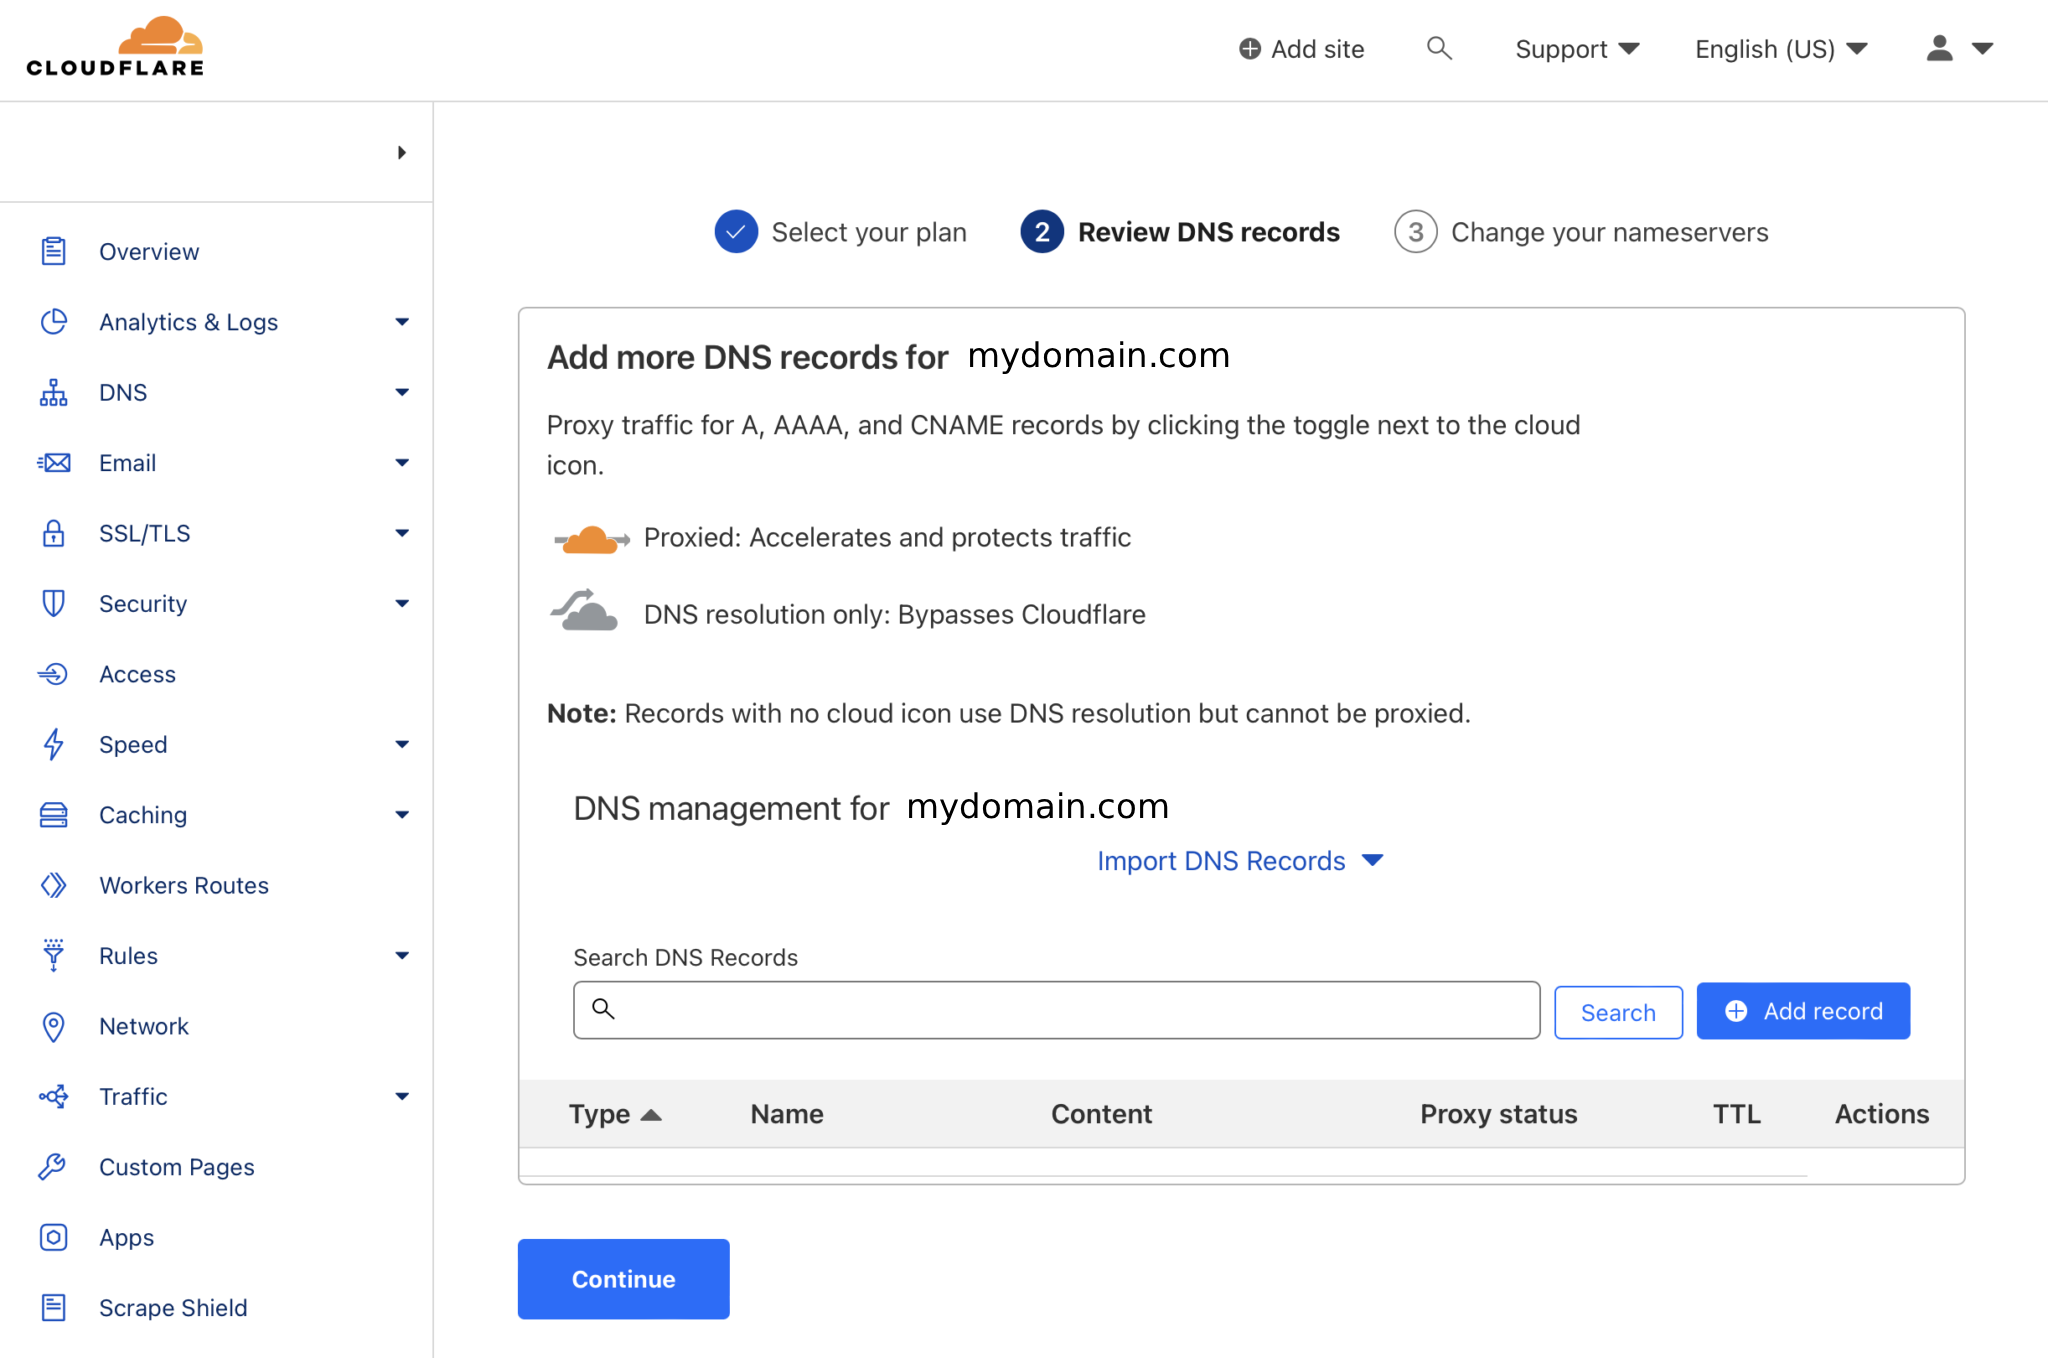
Open the Cloudflare account where your website has been added. In the DNS settings, edit the existing CNAME record and replace the current IP address or target value with the new value provided by Cloud-CDN.
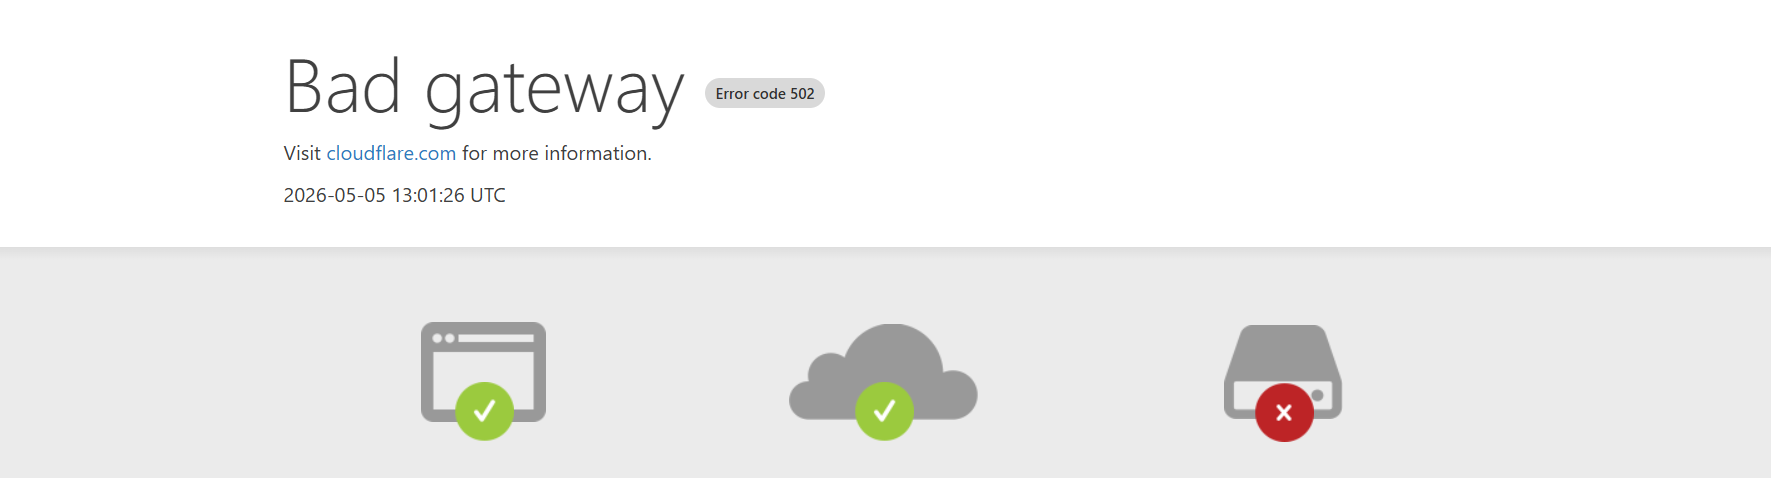
When get error ..
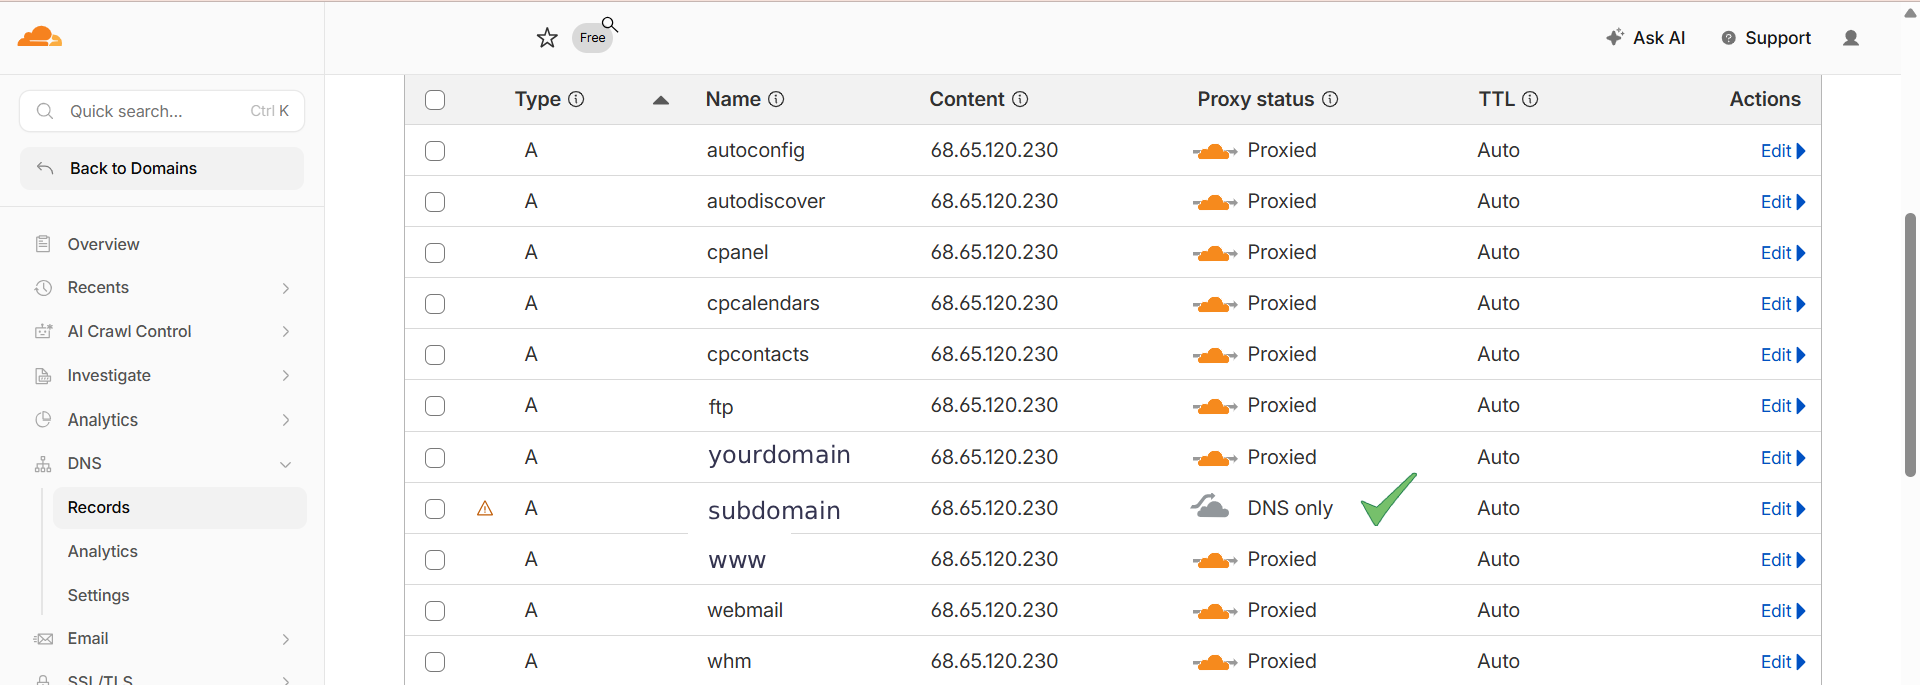
Free cloudflare account subdomain proxy status color make change gray colour.
When get error ..
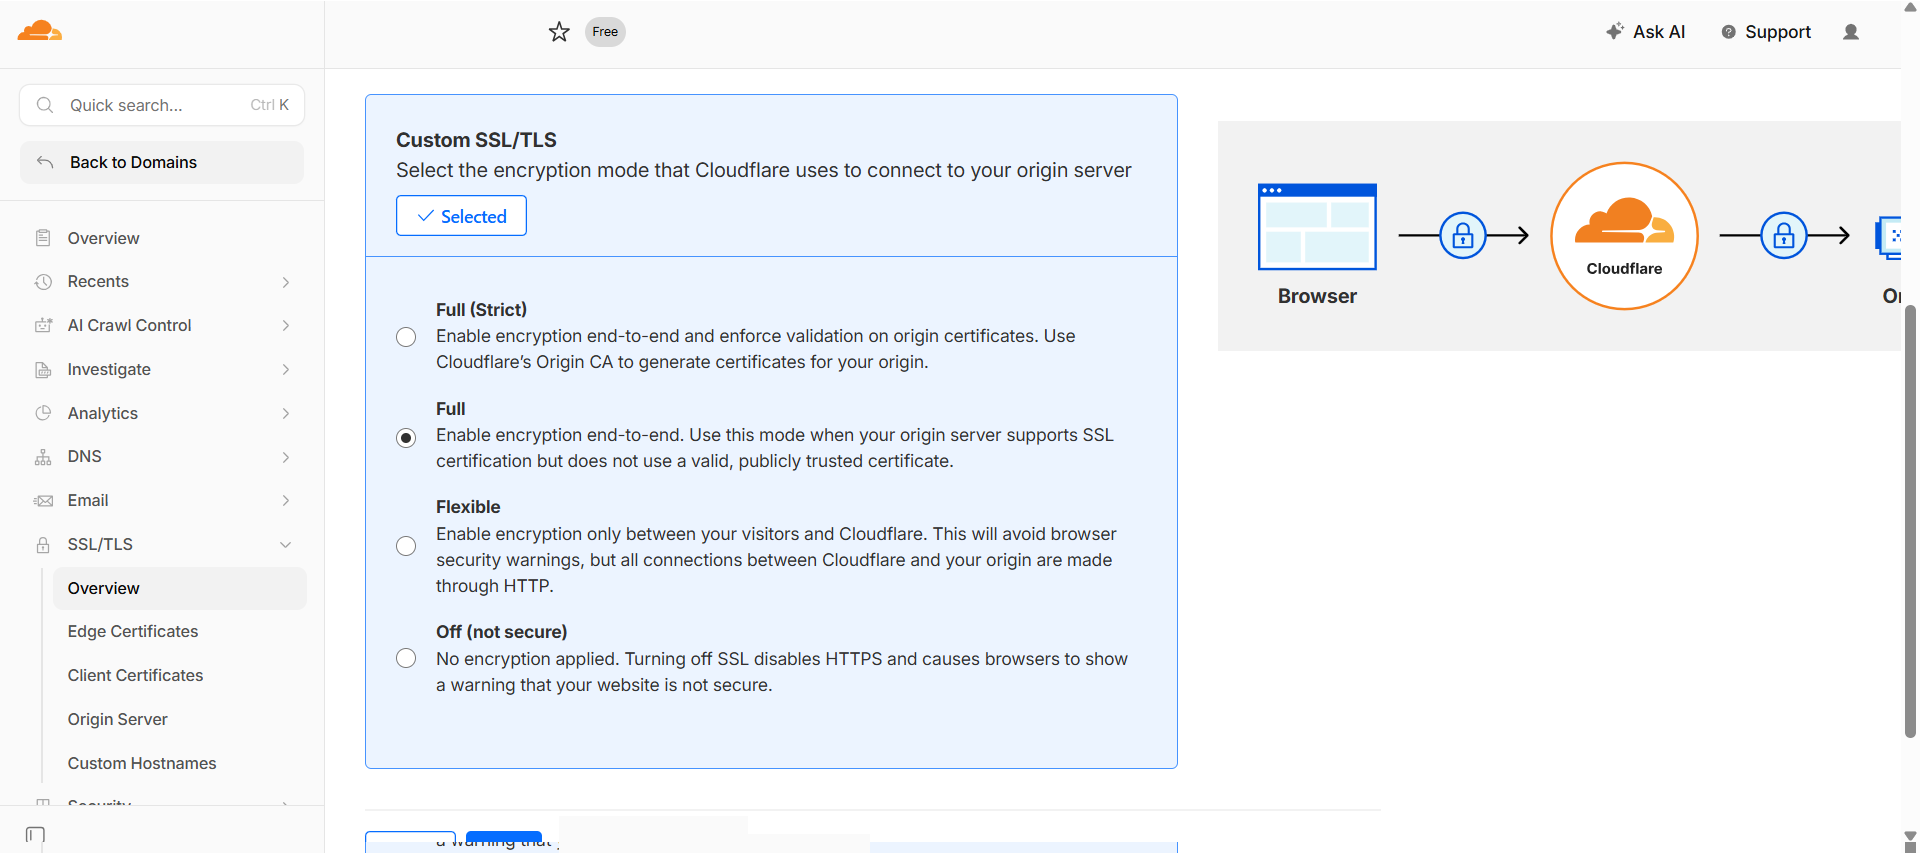
Free cloudflare account configure SSL/TLS encryption Full .
DNS propagation takes a few minutes to a few hours.
Once active, your site goes through Cloud-CDN.
Now you can continue with free cdn cache plan.
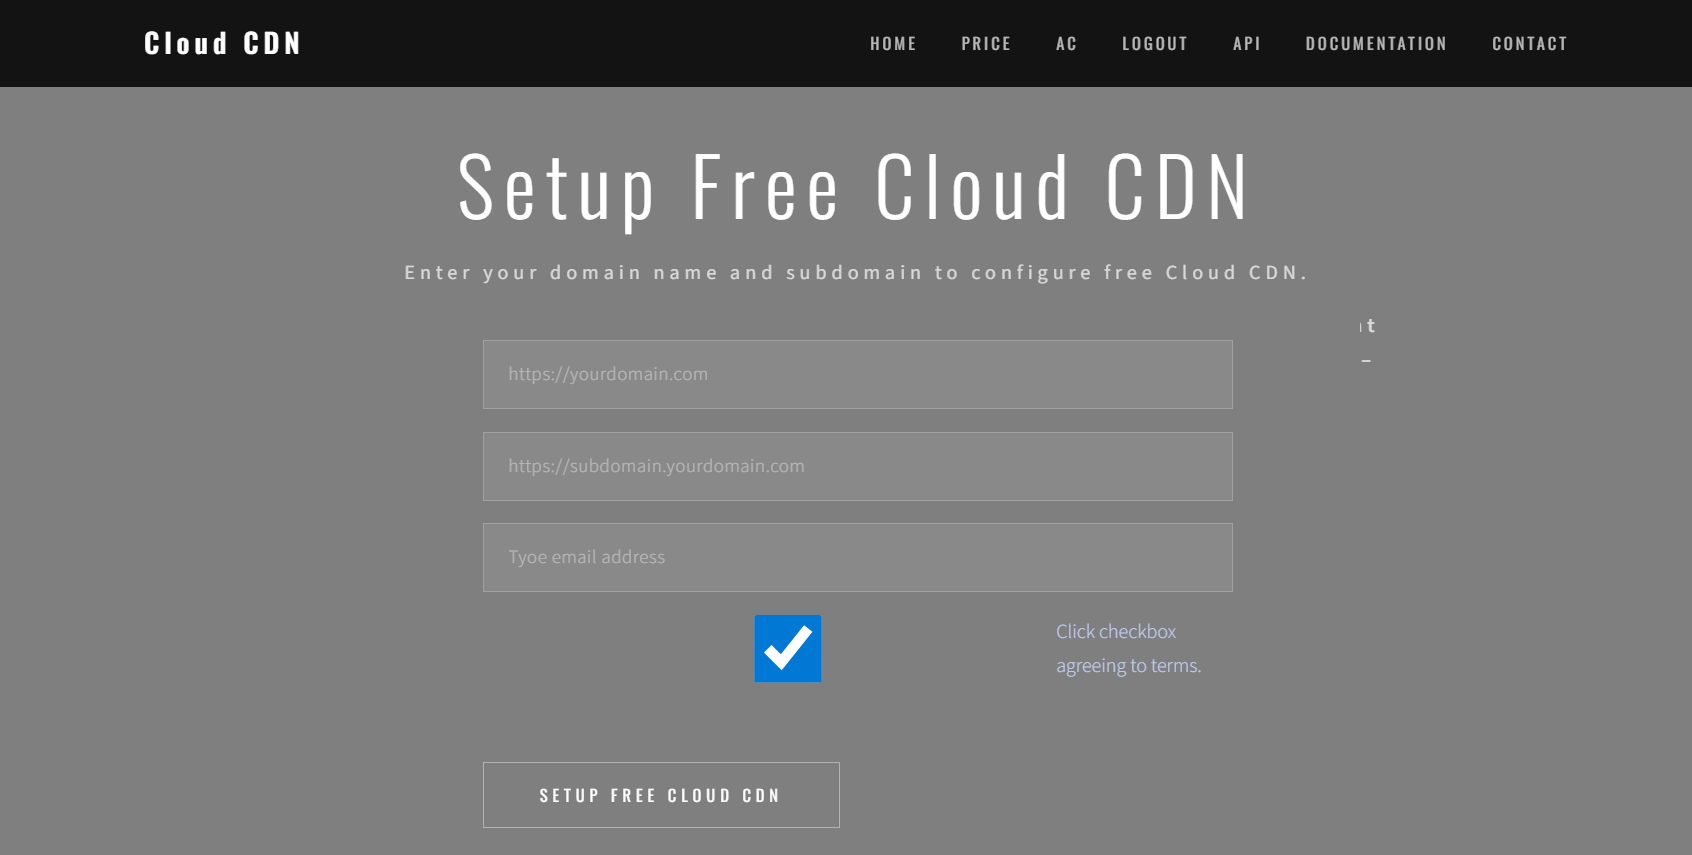
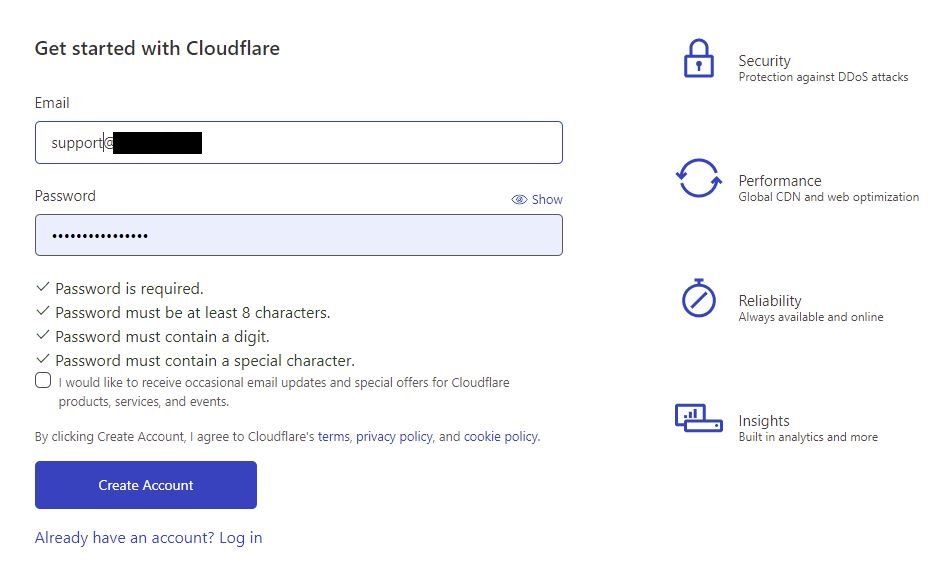
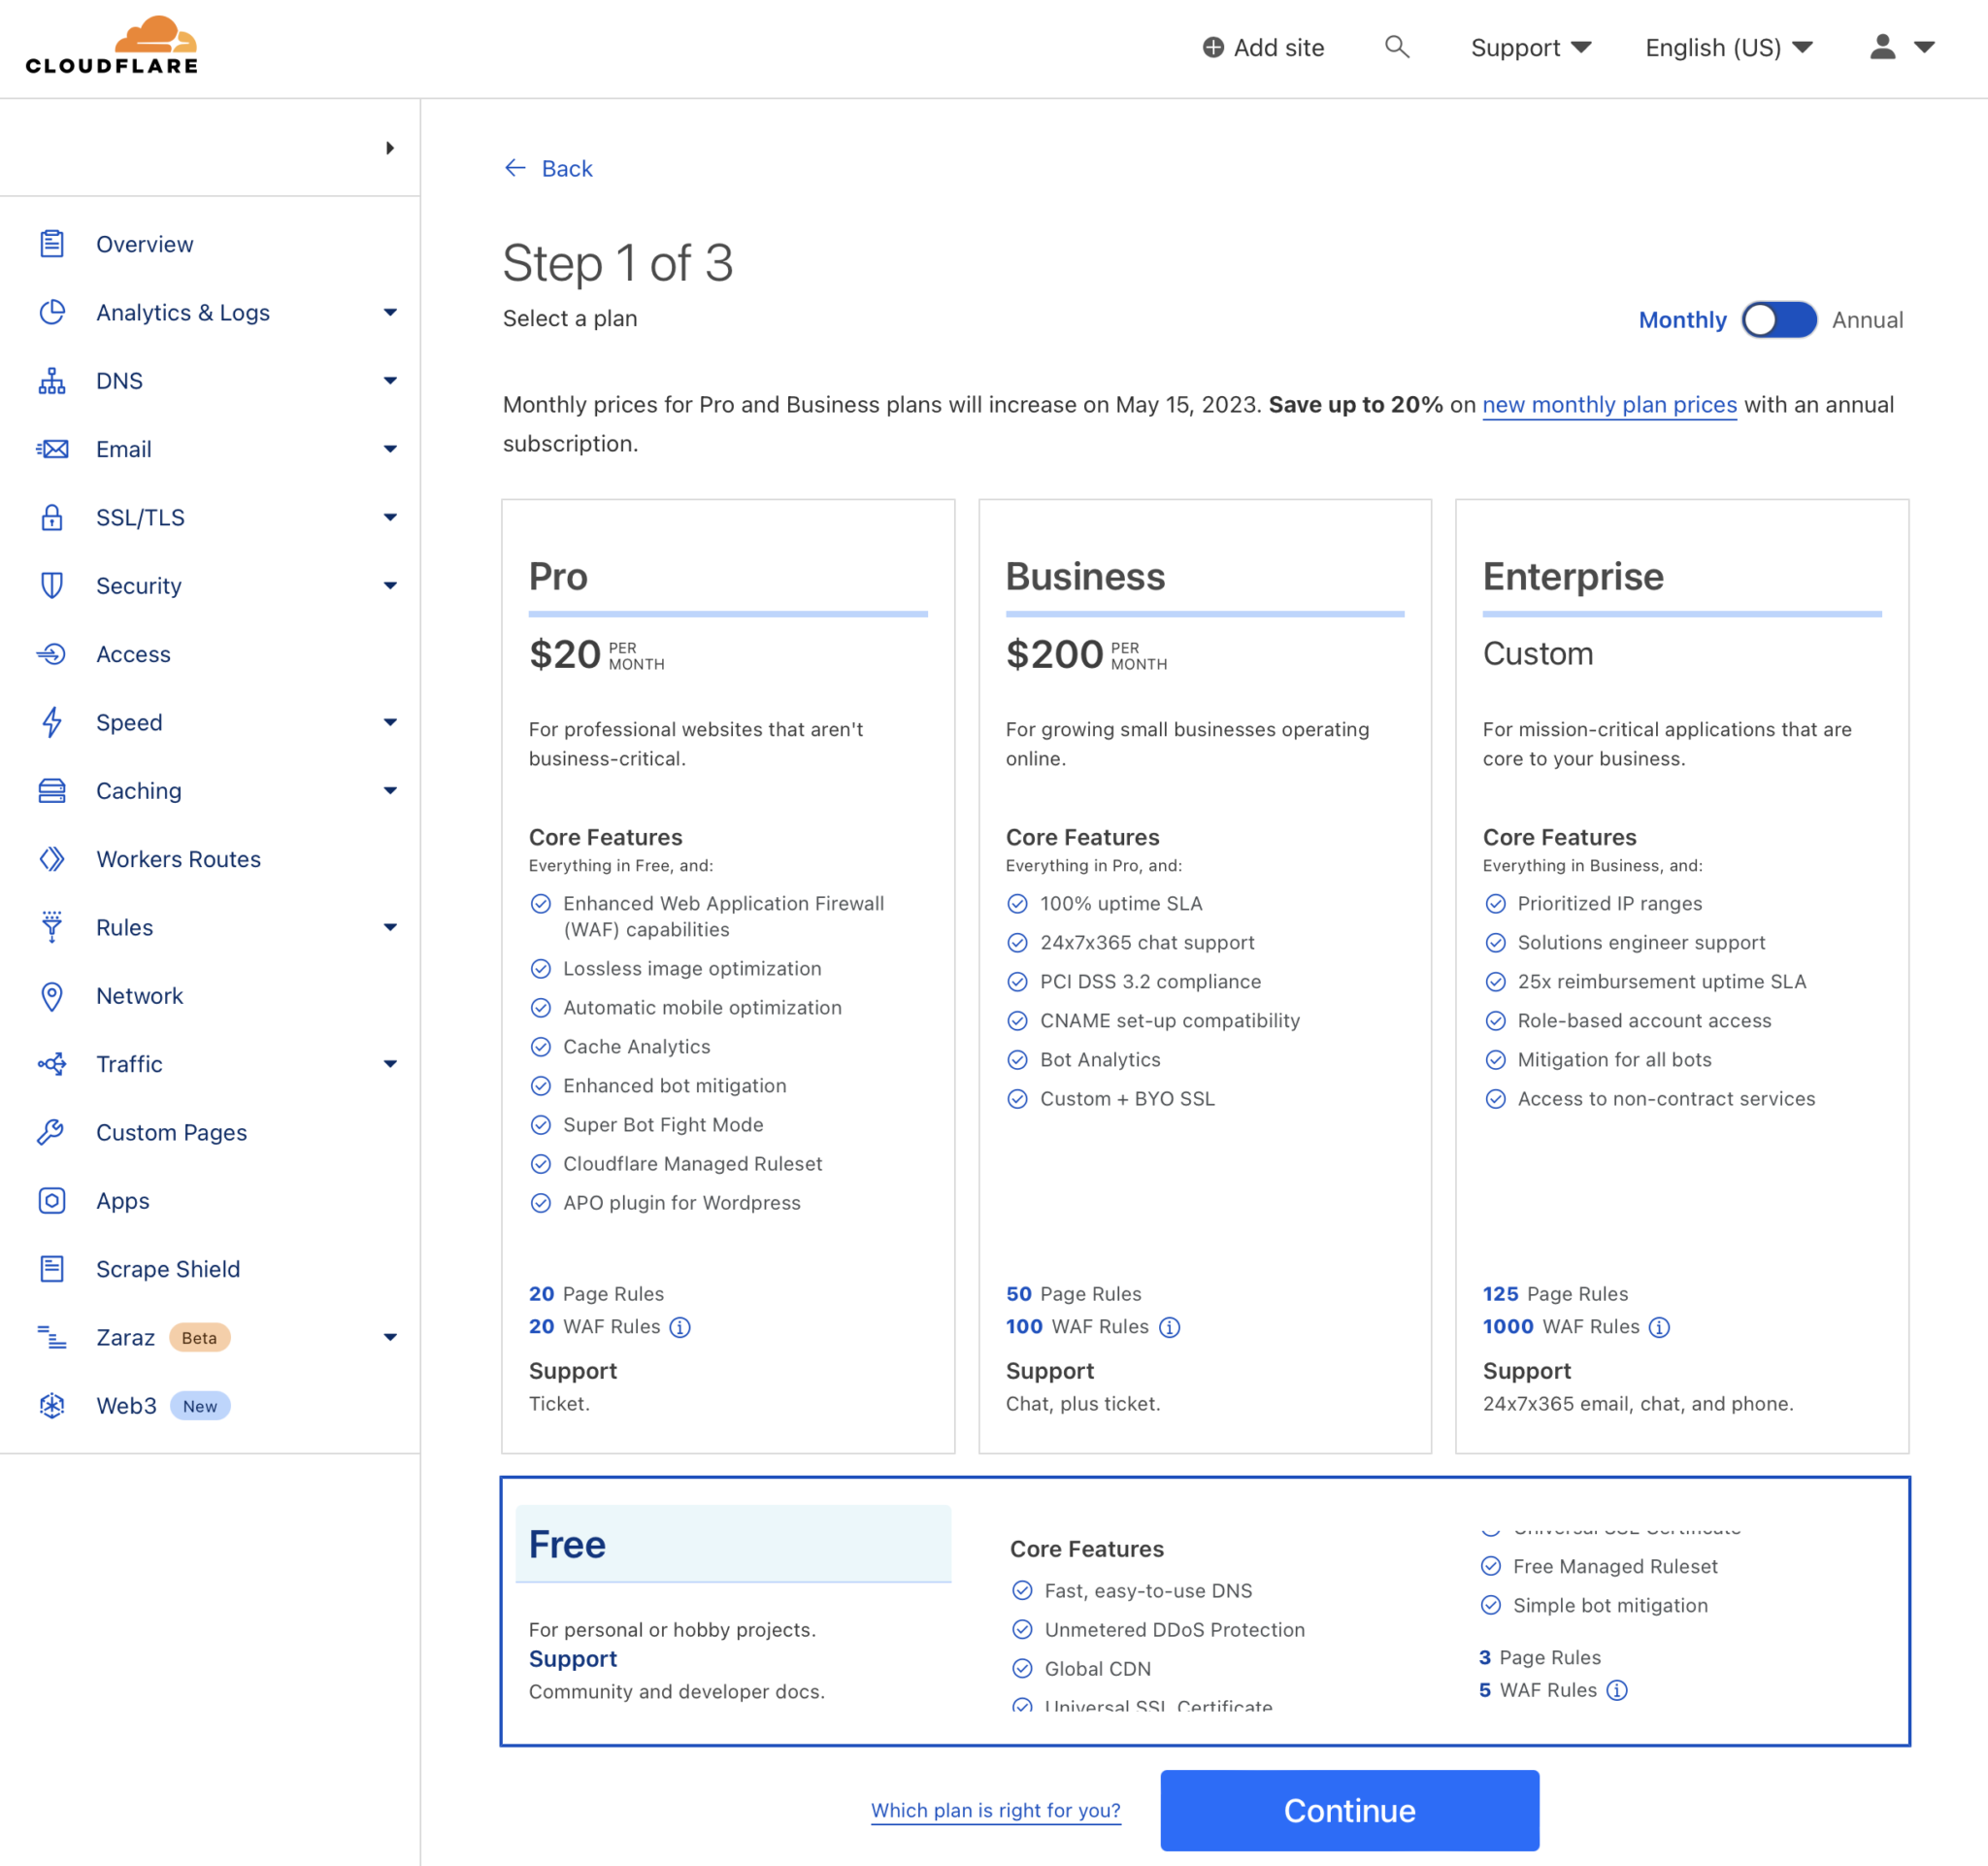
To set up Cloud CDN, you need to create a free account on Cloudflare.com and add your website to Cloudflare.
No special requirements are needed. Simply add your website to your free Cloudflare account, and the Cloud CDN setup process becomes quick and easy for your website. The setup usually takes around 10–15 minutes.
Setting up a free Cloud-CDN account is quick and straightforward. Typically, it takes around 5 to 10 minutes to complete the setup and start using CDN services for your website.
Within this time, you can create your account, add your website, and configure the basic settings needed to enable content delivery through the CDN. Once done, your site’s content can be cached and served faster to users through the CDN network.
First output you will get x-cache: MISS - from Cloud-CDN ( status - MISS ).
Submit again same url output will be x-cache: HIT - from Cloud-CDN ( status - HIT )
A cache hit means the requested content is served directly from the Cloud-CDN cache instead of reaching the origin server, making delivery much faster and reducing server load.
In a free account, the Cloud-CDN server layer typically stores cached content for about 2 minutes. During this time, repeated requests for the same URL will return a cache hit.
However, when you purchase a plan, the cache duration can be extended significantly—usually ranging 7 days, depending on your configuration and requirements. This longer caching period improves performance, reduces bandwidth usage, and ensures quicker response times for users accessing the same content repeatedly.
First output you will get x-cache: MISS - from Cloud-CDN ( status - MISS ).
Submit again same url output will be x-cache: HIT - from Cloud-CDN ( status - HIT )
A cache hit means the requested content is served directly from the Cloud-CDN cache instead of reaching the origin server, making delivery much faster and reducing server load.
In a free account, the Cloud-CDN server layer typically stores cached content for about 2 minutes. During this time, repeated requests for the same URL will return a cache hit.
However, when you purchase a plan, the cache duration can be extended significantly—usually ranging 7 days, depending on your configuration and requirements. This longer caching period improves performance, reduces bandwidth usage, and ensures quicker response times for users accessing the same content repeatedly.
Setting up a free Cloud-CDN account is quick and straightforward. Typically, it takes around 5 to 10 minutes to complete the setup and start using CDN services for your website.
Within this time, you can create your account, add your website, and configure the basic settings needed to enable content delivery through the CDN. Once done, your site’s content can be cached and served faster to users through the CDN network.
CDNs generally should not cache dynamic or sensitive pages such as authentication, dashboards, or personalized account areas. Typical exclusions include:
A CDN should cache only content that is safe to serve to every visitor. Pages that contain authentication, private user data, admin functionality, payment details, or frequently changing personalized content should usually bypass CDN cache completely.
Pages such as login, signup, admin panels, user dashboards, account settings, order history, checkout, cart, OTP verification, password reset, and profile management are considered dynamic and sensitive. If these pages are cached incorrectly, users may see outdated information or, in severe cases, another user’s private data.
Your website is not directly connected to a Cloud CDN. You are using Cloud CDN services through Cloudflare. Your website is connected to Cloudflare, and you can stop using the Cloud CDN services at any time by logging into your Cloudflare account. Your account and website are also protected with additional security features provided by Cloudflare.